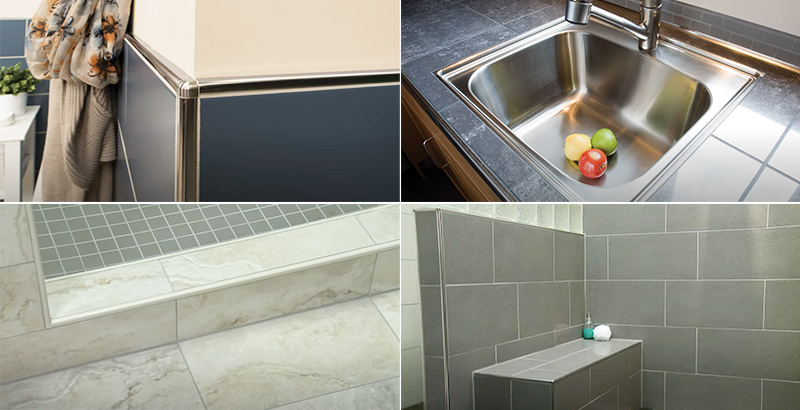
The tiles in the corners are easily damaged by collision, which will not only affect the overall appearance, but also cause the problem of blackening after a long time.
The installation of tile trims can avoid the occurrence of the above problems, and can also protect the tiles in the corners.
The construction steps of the tile trims.
Step 1: Prepare the materials.
According to the thickness of the tiles, choose different specifications of the tile trim, 10 mm thickness tiles should use large trims, 8 mm thickness tiles can choose small trims. The general size of the tile trim is generally about 2.5 meters in length, which can be spliced or cut according to the specific length of the installation position.
Step 2: Check and clean the installation position.
The corners of the wall should be cleaned of dust, cement and other contaminants in advance. Also check its verticality and flatness, it must be a right angle of 90°, and the surface should be flat and clean.
Step 3: Make the adhesive.
The tile trims need to be pasted on the wall corner bricks with cement paste. The cement paste is generally mixed with white cement and wood glue as the adhesive, and the modulation ratio is 3:1.
Step 4: Paste the tile trim.
Apply grout on the bottom side of the tile trim, and also apply grout on the corner installation position. Press the trim against the wall corner and apply some pressure to make the trim close to the tile.
Step 5: Clean the surface.
During the installation process of the tile trim, due to the pressure, there will be part of the grout overflowing the surface, which needs to be cleaned up in time with a rag. For 48 hours after installation, keep the surface dry and out of contact with water.

Post time: Nov-23-2022